If you’re tired of paying a graphic designer for small jobs or if you’re just starting out and on a budget – fear not! There are so many easy to use apps and tools to DIY graphic design these days that you can get it done quickly, for free, looking professional and the way you want it to be!
Images
Ok, this is the basic first thing you need to know – where to get free images and images with no copyright. Although there are many paid and subscription websites where you can get high quality and high definition images of anything you want, you can still find some amazing stuff on free websites.
My favourite place to get images is Unsplash. The images are cool, free, and you can pretty much find anything on there. (We used an Unsplash pic for the feature image in this post.)
However, there are plenty of other websites where you can get good quality, free images from as well. These are some of my favourites:
Canva
Canva is pretty much the one-stop shop. It’s a free graphic design website which actually produces professional looking graphics. Here is a screenshot of just some of the things that you can create (what a time saver not having to be up-to-date with the latest social media image sizes; Canva has it all sorted for you):
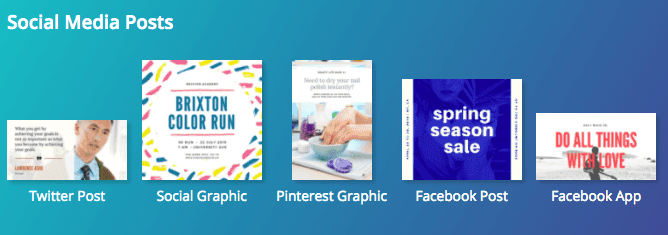
So here you have everything from social media designs to logo design and a variety of documents that you need to look professional.
Creating on Canva is straightforward and easy. Let’s make a Facebook cover photo together…
From the menu above you choose “Facebook Cover Photo”. It then brings up different layouts. Here are the SUPER easy steps:
- Choose a layout you like (note that some are free and some paid)
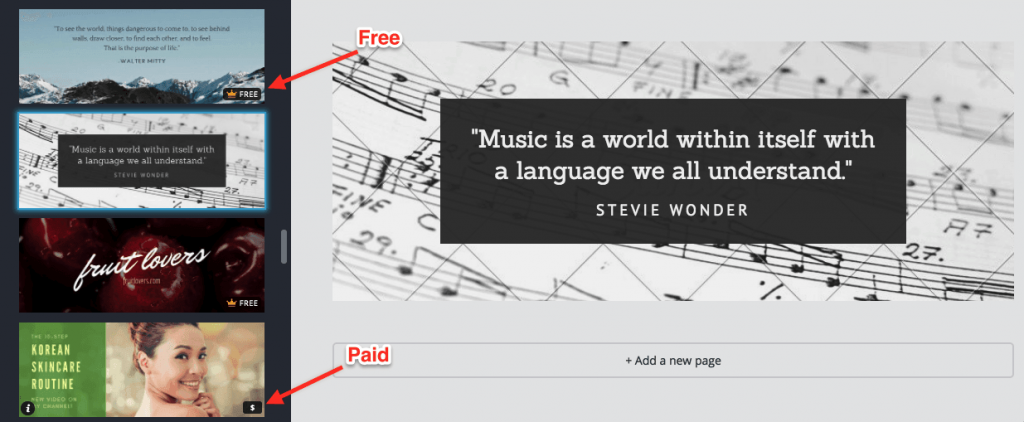
- Click on the background image and click “delete”
- Upload the image that you would like to use as your background (eg. a photo from Unsplash) and then drag it across
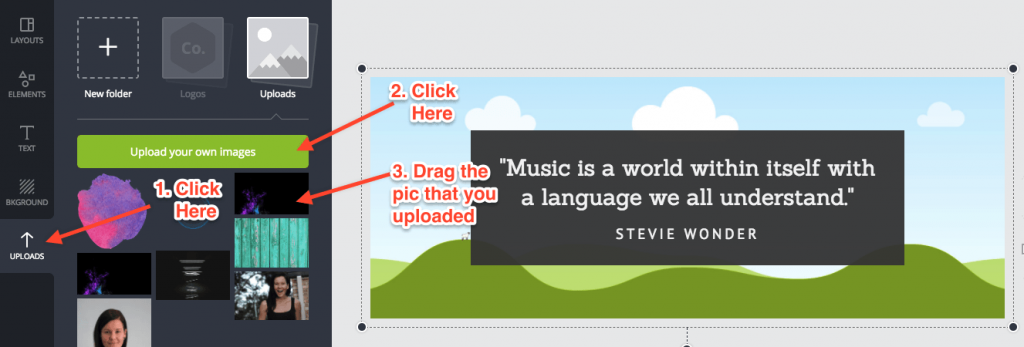
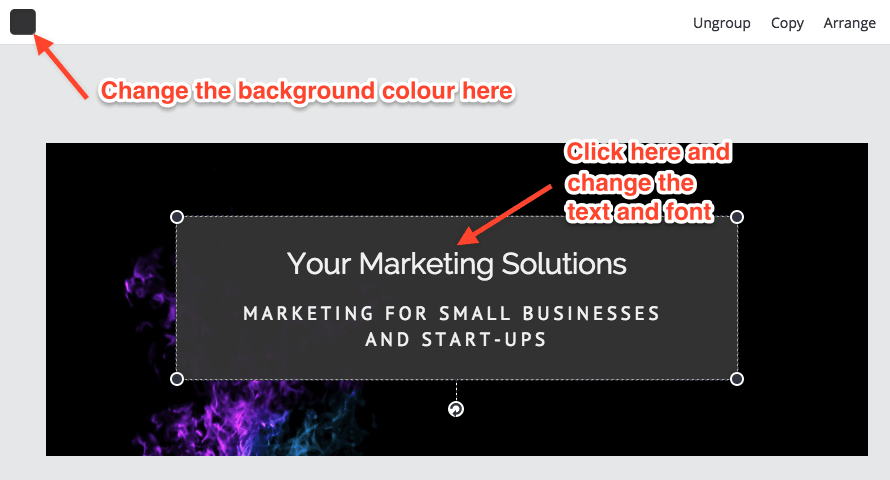
- Click on the text box and change the text and the colour of the background
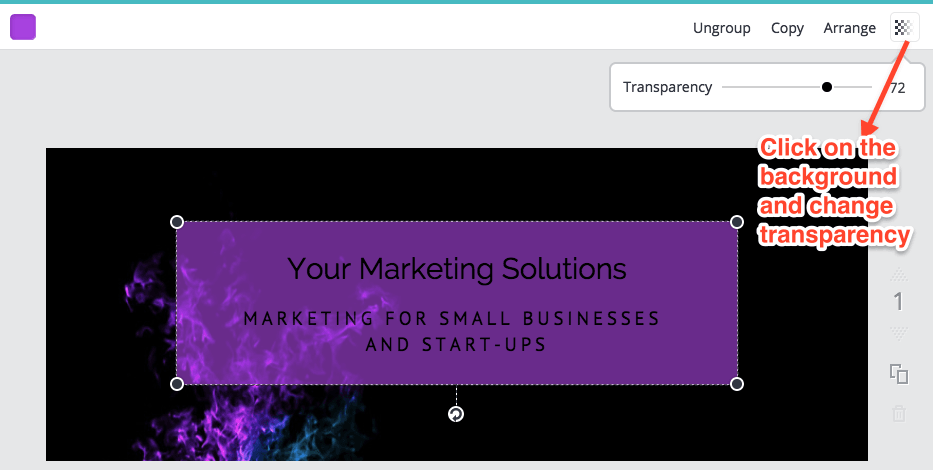
- You can also change the transparency of an image
- The last step is to click “Download” and BAM! You have a Facebook cover photo.
If you pay an upgrade of $12.95 a month you get a few extras such as:
- Unlimited folders and storage
- Templates for you and your team to use
- Resize your designs
- An option for a transparent background for your images
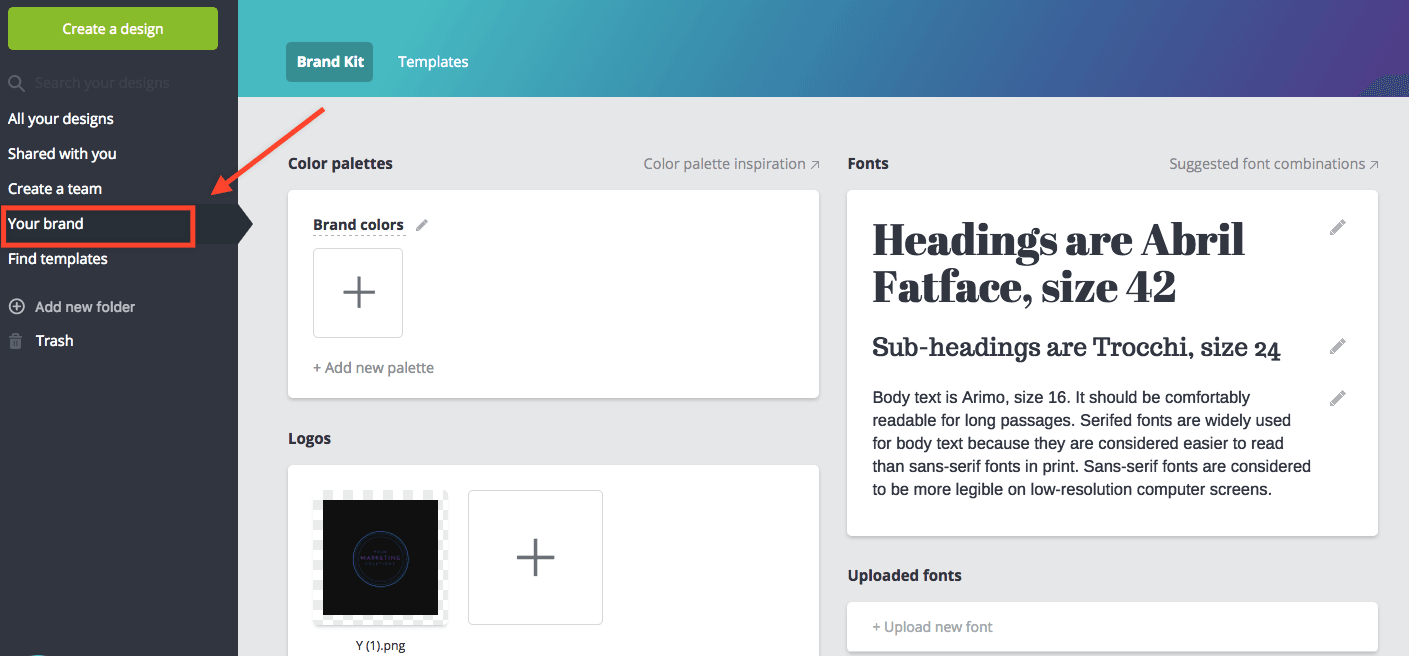
- You can also create a brand kit where you can upload custom fonts for your brand and set colour palettes for your brand:
Amazing, right?!
Apps
Although you can pretty much make anything in Canva, sometimes it is easier to use an app for your Facebook and Instagram tiles because they are even easier to use and you can do it from anywhere on your phone!
My fave is WordSwag. It costs $7.99 to download the app, but it has amazing images and backgrounds to make really professional tiles and so easy to use – check this out:
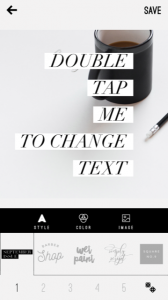
What you do:
- Choose your background. It can be plain so that you can colour coordinate your posts to your branding. Or you can choose from the many photo options they offer
- Double tap the font to write what you want
- Adjust the font size, style and where you want it placed on the image
- You can also choose from hundreds of quotes which Wordswag provides for you!
There are also freemium apps such as Typorama, Whitagram and Ezy Watermark but they have fewer options for fonts and images unless you choose the paid upgrade.
Another great app is Facetune. This is AWESOME for getting rid of blemishes, a shiny face or even making your teeth whiter! You can use it to make yourself a little skinnier too (I don't like the thought of how common this is.) Just remember, what you see is not always what you get on Instagram!
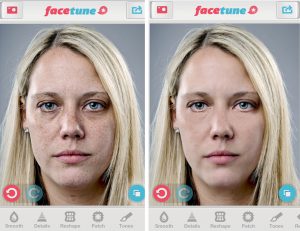
How to use:
- Choose the photo from your photo library
- Click on one of the options at the bottom. For example “Smooth”.
- Use your fingertip to draw on the areas of the face that you would like to smooth out such as wrinkles or blemishes.
- Once done, click the “tick” and you're wrinkle free!
WordPress Plugins
If your pics are taking too long to load on your website, there's good news. You don't have to compress all of the images yourself – download a plugin to do it for you!
Why is it important to do this I hear you ask?
- It increases your page speed = less frustration for a potential client especially if they have a slow internet connection
- Increased page speed can result in better search engine rankings
- It saves you storage space and bandwidth
What are the best plugins to use?
EWWW Image Optimizer
I use EWWW because the optimization is all done for you automatically when you upload the images. The optimization process also takes place within your own servers by default, instead of connecting to a third party service which means that the process is slightly faster. There is an option to optimize all of your images in your media library as well.
The other advantage is that it uses lossless optimization methods by default, but it also allows you to apply lossy reductions for even bigger reductions in file size without losing too much of the image quality.
WP Smush
WP Smush is popular and is available for free or you can choose the premium version. It basically “smushes” your images when you upload them and has a bulk optimization option which allows you to compress multiple images at once which is great if you have a lot of images already stored in your media library.
It uses lossless optimization with the free version, but you can get lossy reductions with the premium version.
Other plugins that I have heard good reviews on include:
Tired of Being a One-Man/Woman Band?
Yeah, I hear you… sometimes I feel like Bert from Mary Poppins!

But help is at hand – there are websites such as Upwork, Outsourcing Angel and Outsourcely that can make your job a lot easier.
How this works:
Just say you want a logo made but you’re like… “$400!? I can’t even afford a new computer”, even though your current one isn’t working properly due to a small incident involving some wine… spilling… on your keyboard.
Look, when you’re starting out, imperfect action is better than no action.
So, jump onto any of these websites (and there are plenty more out there too). They contain a huge community of graphic designers, web peeps, virtual assistants… whatever you need basically. Some offer one-off jobs, while others offer ongoing contract options. With some currency exchanges, you can get things done pretty cheaply too.
You may need to try out a few different people until you get someone that you can use on an ongoing basis, but it is worth it to save you the time of doing it yourself.
Need More Tips on Outsourcing?
Check out these Agency Mavericks blog posts for tips on getting started with outsourcing…
Hello! Solutions or What?
And yes, if you visit my website, I used ALL of the above to get this done!
There you have it. There are SO many more amazing and free resources to use these days, so if you know of any, please share! Us website consultants gotta help each other out!
Have fun creating!