

You don’t have to wait until you onboard a client to start building a relationship with them and establishing trust. Generating loyalty with your audience can happen at any time. A great way to start making those genuine connections is by giving them something of great value. With a content upgrade, not only do visitors acquire a free and super valuable resource, but you now have a way to directly get in touch with leads by email.
In the following tutorial, I’m going to walk you through how to use the Bloom popup to design a content upgrade in WordPress (whether it be for your site or for your clients).
Here is a break down of the steps included in the video along with some tips on creating a content upgrade for your post.
Step 1: Configure Your Email Optin Plugin
The following steps provide a workflow for the Elegant Themes’ Bloom plugin.
With that said, there are other email optin plugins that allow you to do much of the same. Popup Maker is a good alternative as is OptinMonster.
While the results from using other plugins will vary slightly as will setup, you can still follow along and get the basic gist of what we’re trying to accomplish here with a content upgrade.
From the WordPress repository, you can directly install free plugins inside of WordPress. However, for Bloom, download the plugin files from your Elegant Themes account and upload them to WordPress.
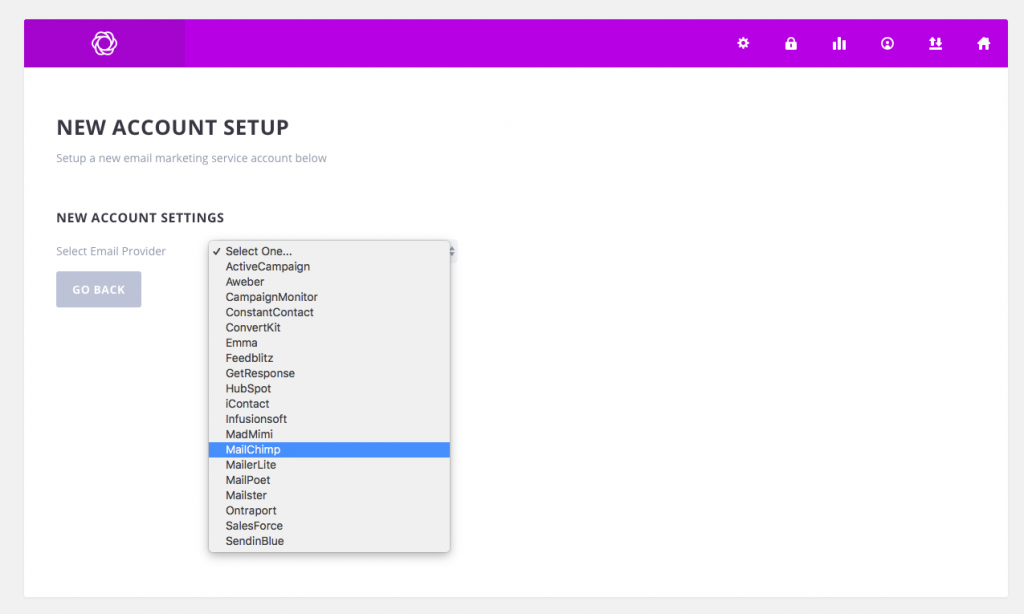
Once you’re done, connect your plugin to your preferred email marketing platform. MailChimp is the one I use, but you can use any of the others on the list.
You should now see all the mailing lists you’ve configured within Bloom. If you don’t have any lists set up yet, take care of that now so you can craft email campaigns directly targeted at your content upgrade leads.
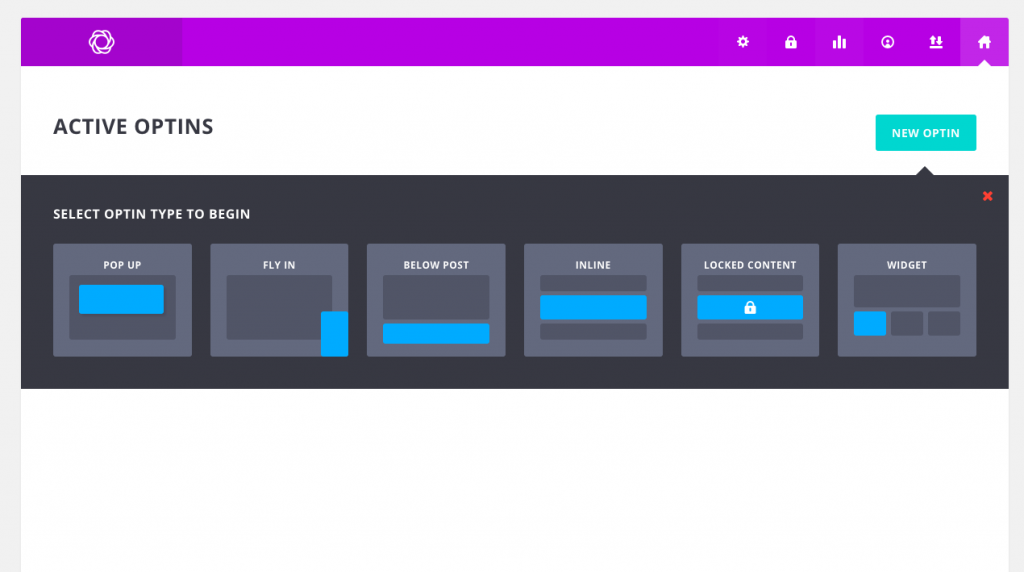
Step 2: Choose the Popup Type for Your Content Upgrade
Designing a popup with the Bloom plugin is quite easy as you can rely on its templates and defaults to do much of the work for you.
Let’s cover the high-level steps you need to take as you set up this first content upgrade:
Choose the “Pop Up” optin type.
Give it a name and connect it to the right mailing list.
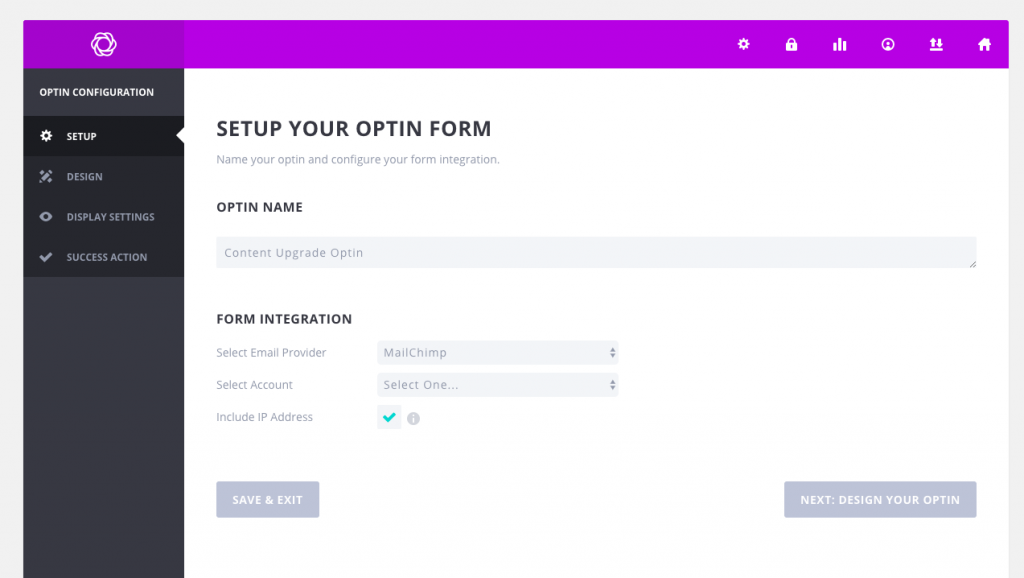
Click “Next: Design Your Optin”.
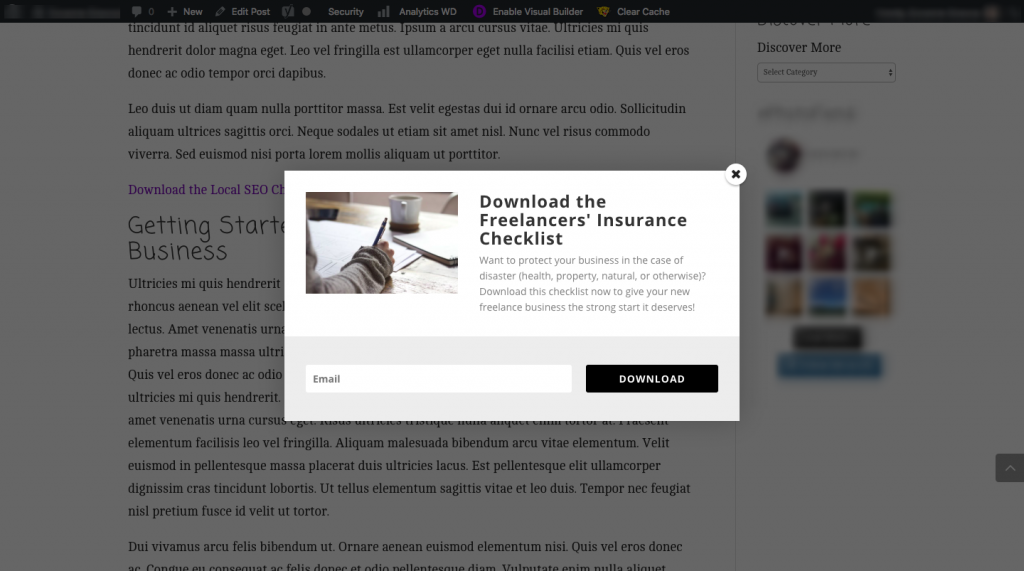
Step 3: Design the Popup for Your Content Upgrade
Choose a template from the options provided.
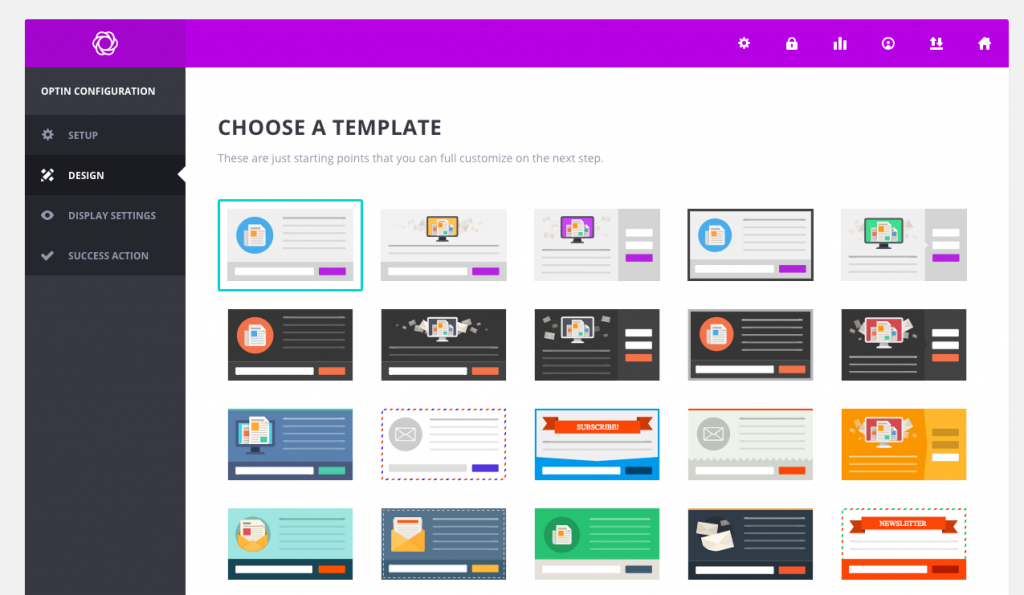
In my opinion, simpler is better. You want to place the focus on the content upgrade, not on how rad the design looks. (Though there’s nothing saying you can’t pimp this out to match an equally boss design. It’s up to you.)
Scroll down and click “Next: Customize”.
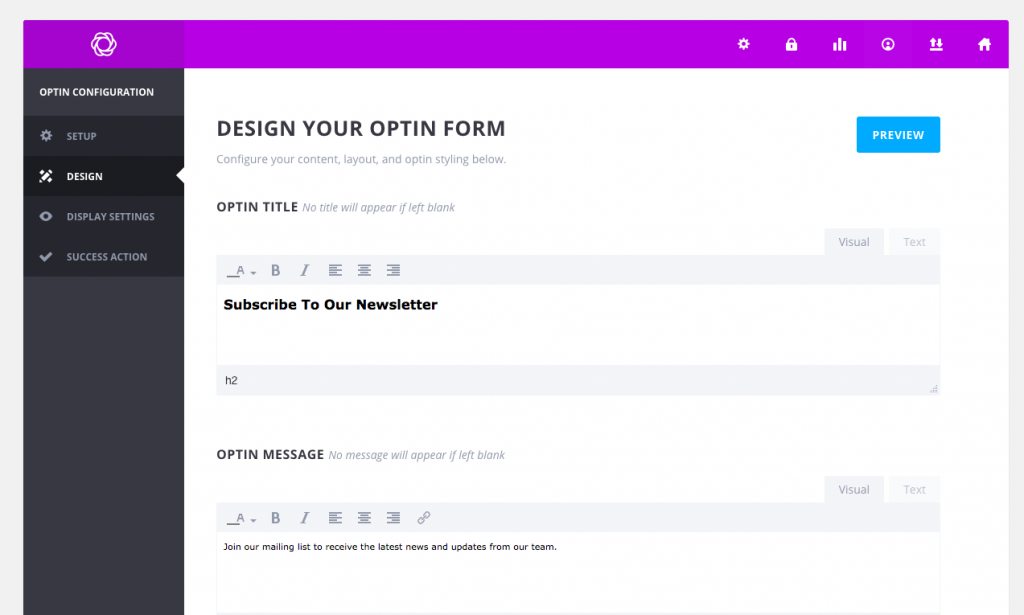
Fill in the following pieces of content to start:
- Optin Title
- Optin Message
- Image URL
- Button Text
- Button Color
- Success Message Text
There are other opportunities for customization in the plugin. This is just to get you focused on the essentials.
When you’re done, click the “Preview” button to make sure the optin appears exactly as you want it to.
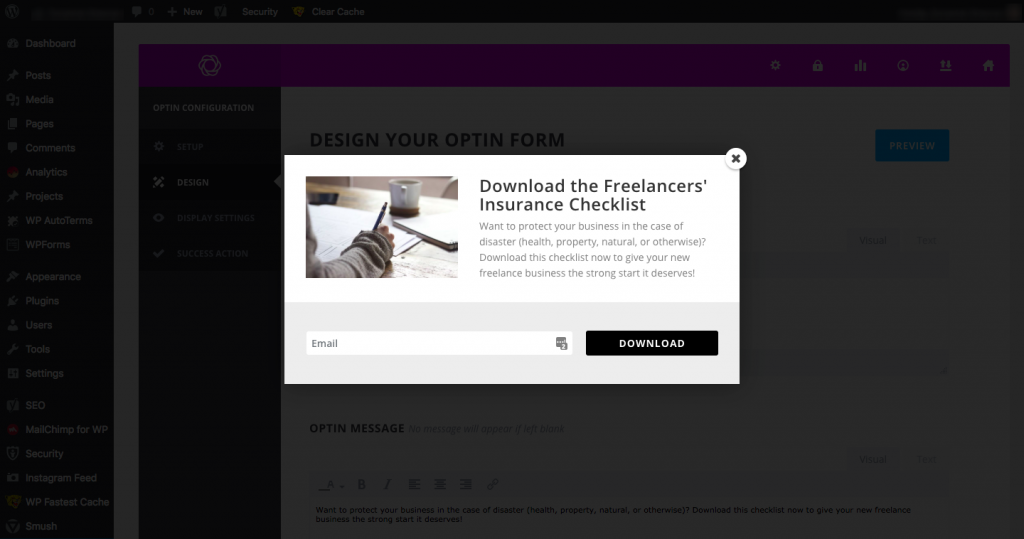
If it looks good, scroll to the bottom and click “Next: Display Settings”.
Step 4: Set Your Popup Trigger
This next tab allows you to configure the trigger for the popup.
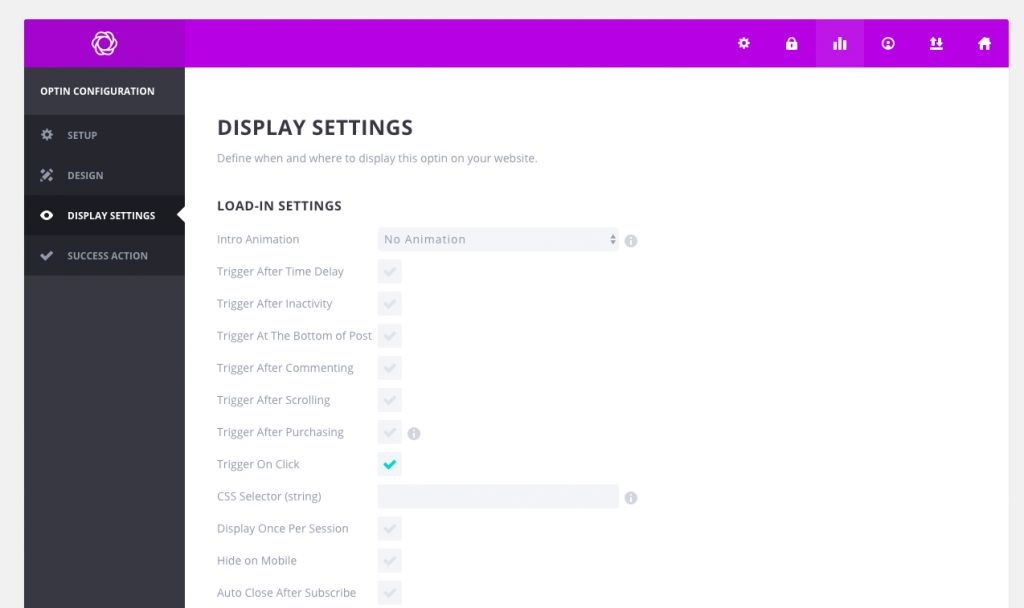
The only trigger you want to enable is “Trigger on Click”. This way, the popup doesn’t appear to users that haven’t actively engaged with your Download buttons.
This ensures you’re giving away the content upgrade to high-value leads.
Scroll down to the CSS Selector field and enter a string. Start with a full-stop (.) and then name your string. For instance:
.popup-freelance-checklist
Copy the string without the full-stop.
Choose to “Display on Everything”.
Then click the “Next: Success Action” button.
You can leave this as is or personalize.
Click “Save & Exit”.
Step 5: Insert the Content Upgrade into the Post
Finally, let’s get the content upgrade optin into your post.
Inside the post, locate the text for the placeholder button you created. It should look like this:
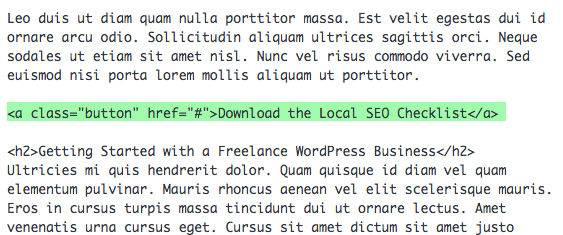
After “button”, insert a space and add your CSS string (no full-stop).
Click “Preview” and test the button within the post. If you’re happy with how it works, go ahead and add the button to other key areas of your post.
Save your post. Once you’ve created the email response with the downloadable content upgrade attached, you can publish this page and promotion to the live site.
A Word About Content Upgrades
While the process I demonstrated in the above tutorial is simple enough to implement, it’s important to consider what kind of content upgrade will add value to your visitors’ lives. Then, you have to craft content that:
- Makes them want to learn more/do more with the principles you’ve outlined in the blog post.
- Provide a downloadable upgrade that complements the post and actually results in big changes for those who download it.
Why this is important:
To start, you’re asking readers of your blog post to give you their email address in exchange for this content upgrade. For many of them that understand the value of the upgrade, that exchange will seem fair enough. However, if you fail to deliver on that upgrade, or you misuse the email address they’ve entrusted you with, they’ll quickly unsubscribe from your list and you’ll have wasted your efforts.
So, before you tackle the implementation of an email optin, spend some time researching what it is your users need and work on shaping a resource that will deliver. And, of course, don’t forget to plan your follow-up email campaign. Although the anti-follow-up usually applies to prospects you’ve sent proposals to, you can apply the same basic principles here.
Your relationship with the visitor can’t stop at the download. The next step is to put those email addresses to good use in getting results for your business.