


When you onboard new clients, is it fair to say that collecting pertinent information at this stage is one of the greatest pain points in your process? It doesn’t have to be that way, though, if you can power your WordPress site to do it for you.
In today’s tutorial, I’m going to show you how to systemise the client onboarding and information intake process with contact forms and pages.
Why You Should Systemise Business with Your WordPress Site
There are a number of ways to use your WordPress site as a way to streamline your business.
- Appointment scheduling enables interested prospects (and even current clients) to arrange a time to speak with you.
- Document management allows you to securely share and get important business documents, such as freelancer contracts, signed by clients.
- Invoicing automates the sending of invoices and ensures that you get paid on time.
- Client portals create a direct line of communication through which clients can contact you with questions or issues, ensuring nothing gets lost in email, voicemail, and so on.
As you can see, there are some awesome benefits to come from bringing these processes into your WordPress site. To start, all communications are secured since they go through an SSL certificate. Also, this is a great way to centralize business operations, making it easier for you to stay on top of everything. Plus, it’s always nice to give clients a reason to return to your website.
In the breakdown below, I’ve added one more process you should be systemising with your WordPress site: the process by which you onboard new clients.
How to Onboard New Clients with Your WordPress Site
When your WordPress business is bustling and you have little time to spare, the last thing you want is to get caught up in a distracting and laborious back-and-forth with clients over the onboarding process. This really doesn’t need to take very long though. The key is to get all the information you need in one fell swoop.
Let’s walk through the steps of systemising the onboarding process.
Step 1: Launch Local by Flywheel
Launch an instance of Local by Flywheel where you can safely build your onboarding contact form and web page.
Step 2: Create the Intake Form
To onboard new clients more quickly and securely in WordPress, you can use the Gravity Forms contact form plugin.
The reason why I advise you use this particular plugin is because it’s equipped to handle the somewhat complicated layout structure and conditional logic you’ll need for this process.
Once the plugin is installed, you can now create your form.
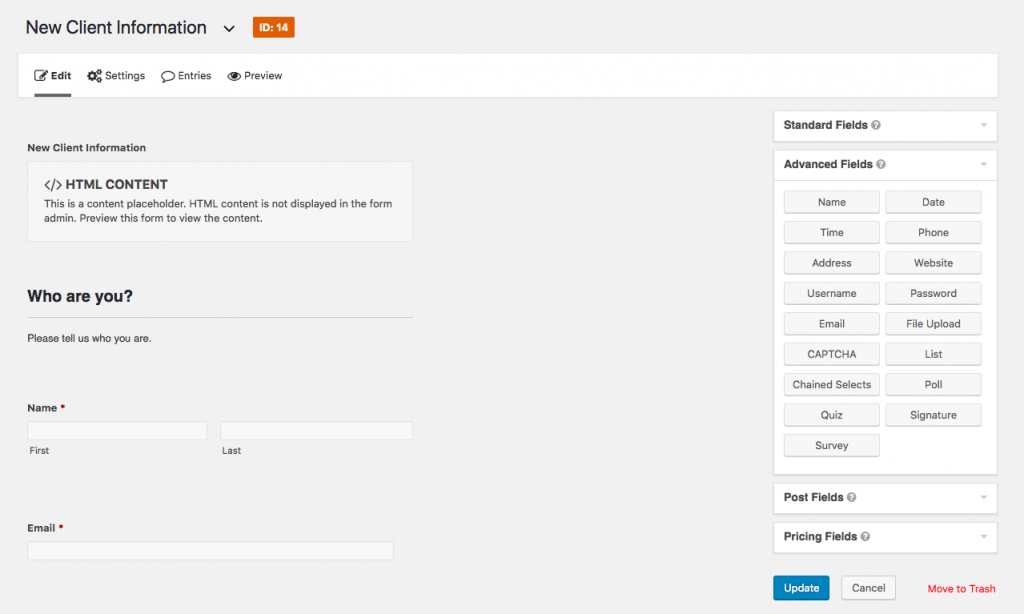
Within Renegade Empire’s client intake form, we’ve configured it with the following fields/questions:
- Details about the client
- Web hosting company and login
- Domain registrar and login
- FTP login
- WordPress admin address and login
- Email list service and login
- Google Analytics login
With each request, we clearly explain what we need, why it’s important to the process, as well as suggestions on how the client can procure this information if they’re unsure of what or where it is.
One thing to note here is that you can design this form as it best suits your own purposes. To onboard a new WordPress care client, for instance, you’d likely need a different list of login credentials and information, so don’t feel as though you have to stick with what we’ve done. Feel free to make this your own.
Regardless of what kind of service you need this form for, the goal is to be as hands-off as possible. You want to get the right set of questions into your clients’ hands so that they get you all the relevant details the first time around.
Step 3: Apply Conditional Logic
As you may have noticed, the contact form on the Renegade Empire site is as short as it can possibly be. This is to keep this process from intimidating clients who don’t know a thing about WordPress, web hosting, and the like. By displaying only the relevant fields and questions to start, your clients can confidently approach this process and get this information back to you right away.
That said, there are more questions you need to ask besides basic “yes” or “no”. You need to dig in and get the actual login credentials, too. To do this, you’ll have to apply conditional logic to the form.
In order to hide fields until they become necessary to answer (that is, when your client responds with an affirmative), you must enable conditional logic on those fields.
Here is a quick example:
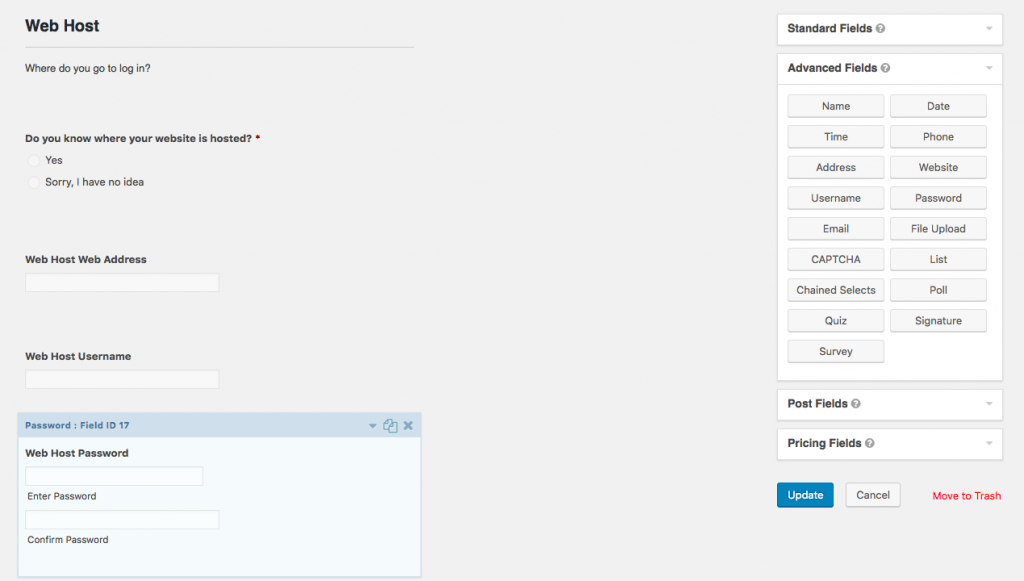
You can see that the main question “Do you know where your website is hosted?” allows for two answers. Below this field in WordPress, there are additional ones present, but we only want them to appear when clients select “Yes”.
To do this, expand any of those explanatory fields.
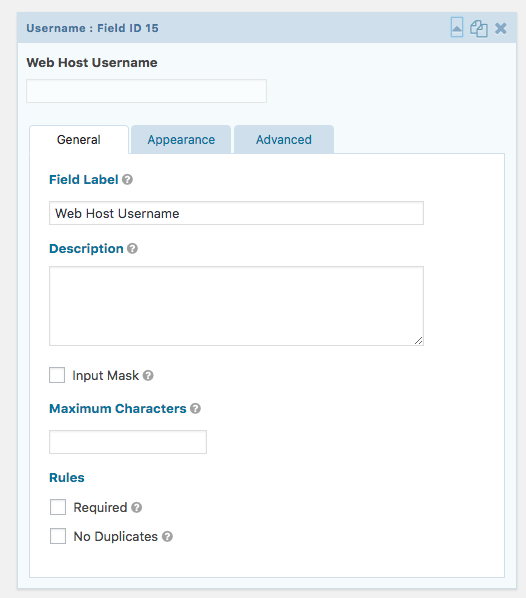
Next, click on the Advanced tab and click the checkbox to enable conditional logic.

Then, set the terms under which this field should appear on the site (i.e. when someone responds with “Yes” to the previous question).
Once you finish creating your form, applying conditional logic, and configuring notification and email settings, make sure you preview it. If all looks good, save your changes.
Step 4: Create a Page for the Form
Create a new page on your WordPress site.
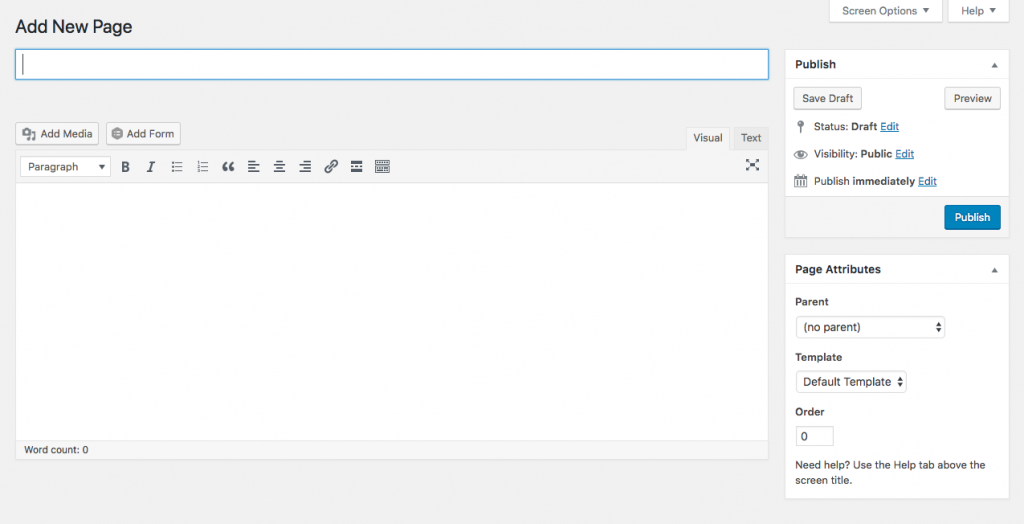
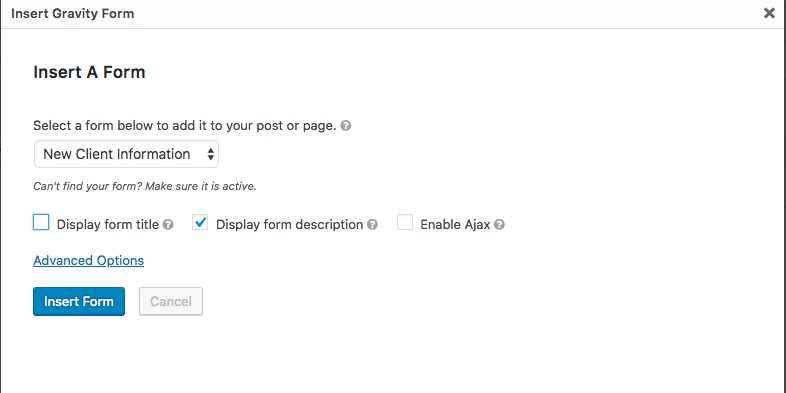
Select the “Add Form” button above the text editor. Select the new form to onboard new clients with.
Add it to the page and save. Now, test it and confirm that all fields are in place, the descriptions are clear, and the conditional logic keeps it looking clean and easy to follow.
Once you’re happy with it, publish the page to your site and test the form to ensure everything works.
You’re now ready to onboard new clients quickly and securely through your site!
Wrap-Up
As you can imagine, developing a contact form in this way can greatly speed up your workflow. Not only have you simplified the work flow to onboard new clients, but this allows you to consistently gather the right information from clients, project after project.